Managing Media Files with WordPress
WordPress comes with a built-in media library/media manager for photos, images, and videos.
You can manage media files individually through the “Media” link on the admin menu/dashboard, or can manage media files on an “as you need it” basis while inserting into a post or page.
The following instructions represent how to upload, manage, and insert a file’s properties on-the-fly in a post or page.
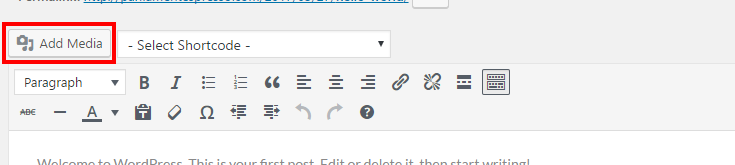
- Above the main content field, use the WordPress Add Media tool to insert the media into your content (as shown below).
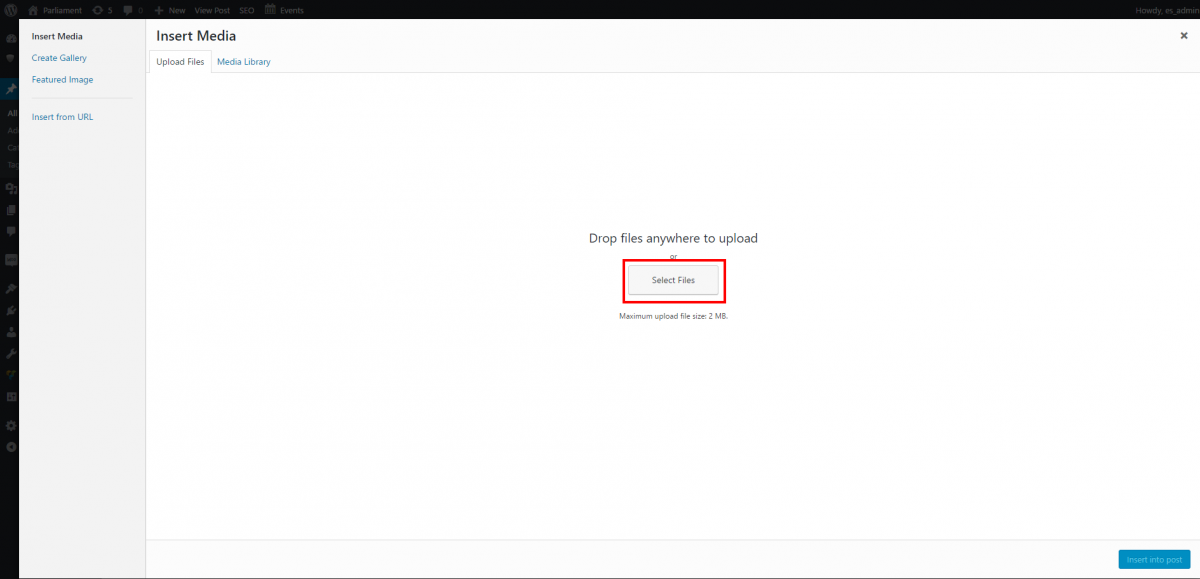
- This will load a pop-up similar to the one at right. It defaults to Insert Media > Upload files. Click “Select Files” to choose the files you wish to upload and use. Common file types include images (.jpg, .png, .gif), documents (.pdf, .doc, .docx, etc). Note: When images are inserted into the post, they will display by default. However inserted documents will only display as links.
- Select the image from your file browser and click “Open”.
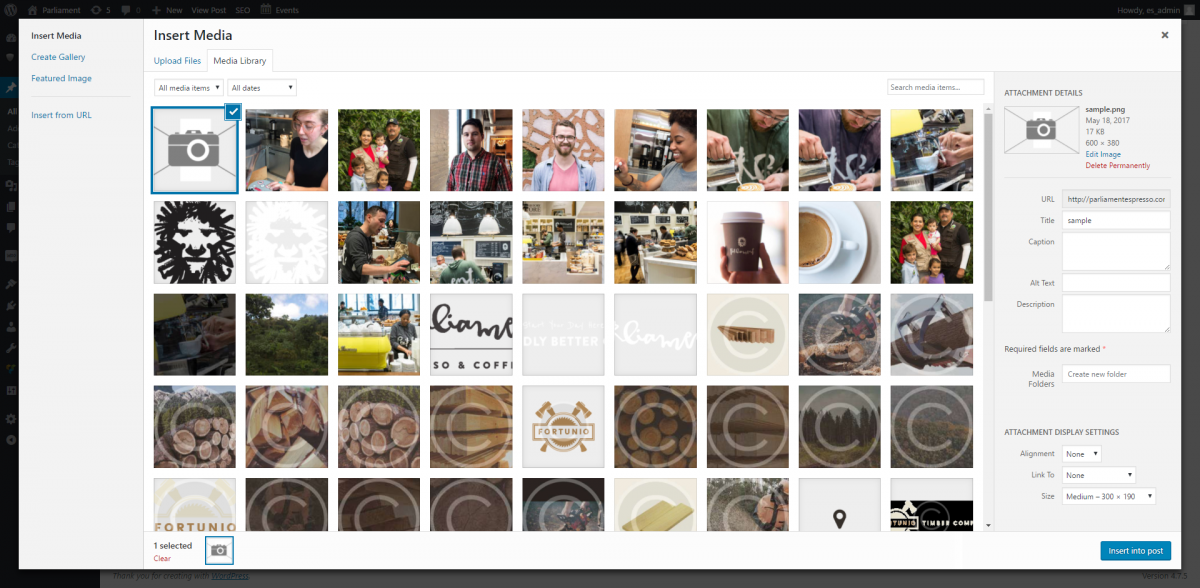
- Once the file has loaded, the pop-up will refresh and expand to include the media file properties and options as shown below.
- The Title attribute is used to identify the file in the WordPress Media Library.
- The Alternate Text attribute is assigned to the image. For Accessibility compliance, this field must be filled out and should not start with "photo of, image of, picture of, graphic of" as that is automatically inserted by reading devices. See http://website-mgmt-info.easternstandard.com/web-accessibility-wcag/alt-... more info about Alt Text and WCAG compliance.
- *If a caption is setup, then it will display inline, immediately below the image (as you would see in a magazine or newspaper).
- *Likewise, a longer description can be added for custom features and templates.
- Link URL: by default, all WordPress images are assigned a link to themselves. Thus when inserted into a post without any customized options, the image can be clicked and loaded in it’s own browser window. It most cases, you will NOT want a link URL and should assign NONE. As you can see from the options, you can also link an image directly to a file or another page/post within the site, or even an external webpage.
- Alignment/Size: Wordpress has built in text-wrapping and preset sizes for images. However, some custom site builds and templates may have their own formatting, in which case you will not need to change these settings. Refer to your web developer if you are unsure.
- If you are looking to use the image as the “featured image” for the post, click the “Use as featured image” link on the left sidebar. Otherwise if you are looking to embed the media, then click “Insert into Post”.